
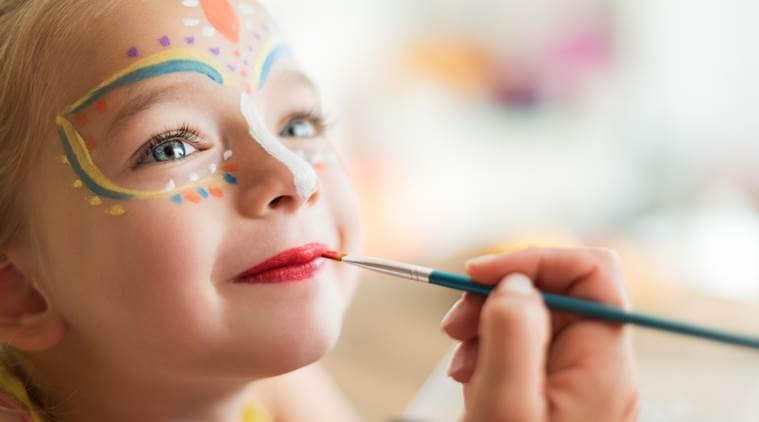
Ten years down the line, kids may not remember the virus or the numbers on the news but they will certainly remember how their family dealt with the crisis.


By Kuhoo Gupta
Staying home will definitely reduce the risk of contamination and stem the coronavirus outbreak, but what if your child is giving you a hard time arising due to overwhelming boredom or fear of lockdown? Ten years down, kids may not remember the virus or the numbers on the news but they will certainly remember how their family dealt with this crisis. So it is very important to have a relaxed atmosphere at home and all parents should focus on their child’s mental and emotional well-being in addition to all the measures that are supposed to be followed in Covid-19 times.
Don’t try to stick to a certain schedule but make a daily rhythm. Have anchor points during the day. A rhythm makes the children feel safe and secure, while reducing anxiety. Allow for a flexible routine.
Here are some activities to overcome boredom.
Paper-plate dream catcher
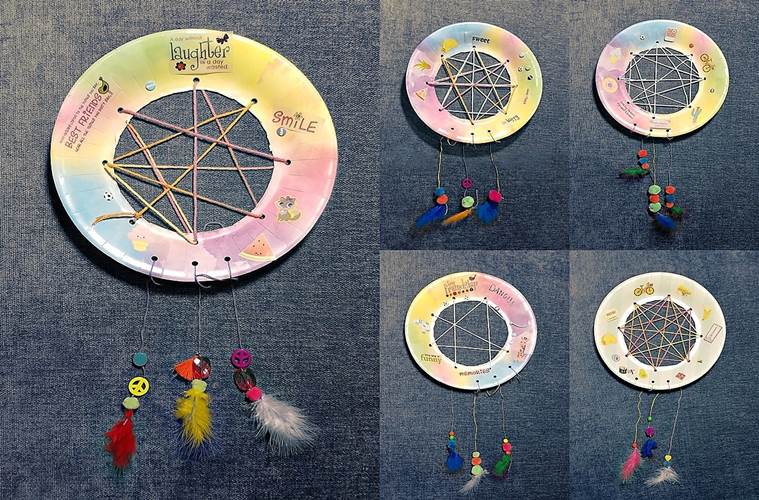
It would be tremendously fun to make Dream Catchers and place it in kids’ rooms. To make these Easy Paper Plate Dream Catchers you will need:
- yarn
- paper plate
- sharp pointed scissors
- hole punch
- pony beads
- feathers
Ask your child to cut through the paper plate and cut along the inside of the rim. This would be best done by both adults and children because you will need sharp scissors to cut through the plate! Next, using the hole punch, make holes all around the inside rim. Then measure out about 3 feet of yarn (you will want to use 3-4 strands per plate) and tie one end at a hole. Have your child weave the yarn through 2-4 holes. On the last hole, pull the yarn through and then string a few pony beads. Next, tie on a feather at the end of the yarn strings. Push the pony beads down onto the quill end of the feather and then snip off the excess string. Continue doing this with the other strings of yarn until you have as many long feathered strings as you choose hanging from the bottom.
Paint and repurpose your old glass bottles
This is an inexpensive and quick way to turn those old bottles you have lying around into something magnificent! Pick up an old glass bottle, clean it thoroughly, submerge them in hot water and let them soak for at least an hour to remove the dirt and labels, dry it and ask your child to start colouring it. Acrylic paints are generally the easiest to use for glass-painting projects. The painting can be done in various theme colours – India’s flag – our tricolour and the national symbols – the Tiger (National animal) and Lotus (National Flower) and Peacock (national bird). You can pick up a planter and paint it. Search for eminent artists and replicate their artwork. Pick up and learn online regional artforms like Warli, Madhubani, Gond, etc. The possibilities are immense.
Mindfulness meditation
It can be taxing emotionally for kids and they might exhibit stress due to lack of access to other kids to play with. It is important to acknowledge the need for relaxing and mindfulness activities for kids. Practicing mindfulness meditation can give them a jumpstart to accessing many benefits in the long run and tend to develop positive traits such as increased self-control, better attentiveness, compassion and more empathy and respect for others. Mindfulness meditation will make them feel mindful and not be distracted during the time of the lockdown.
Fine art notebook
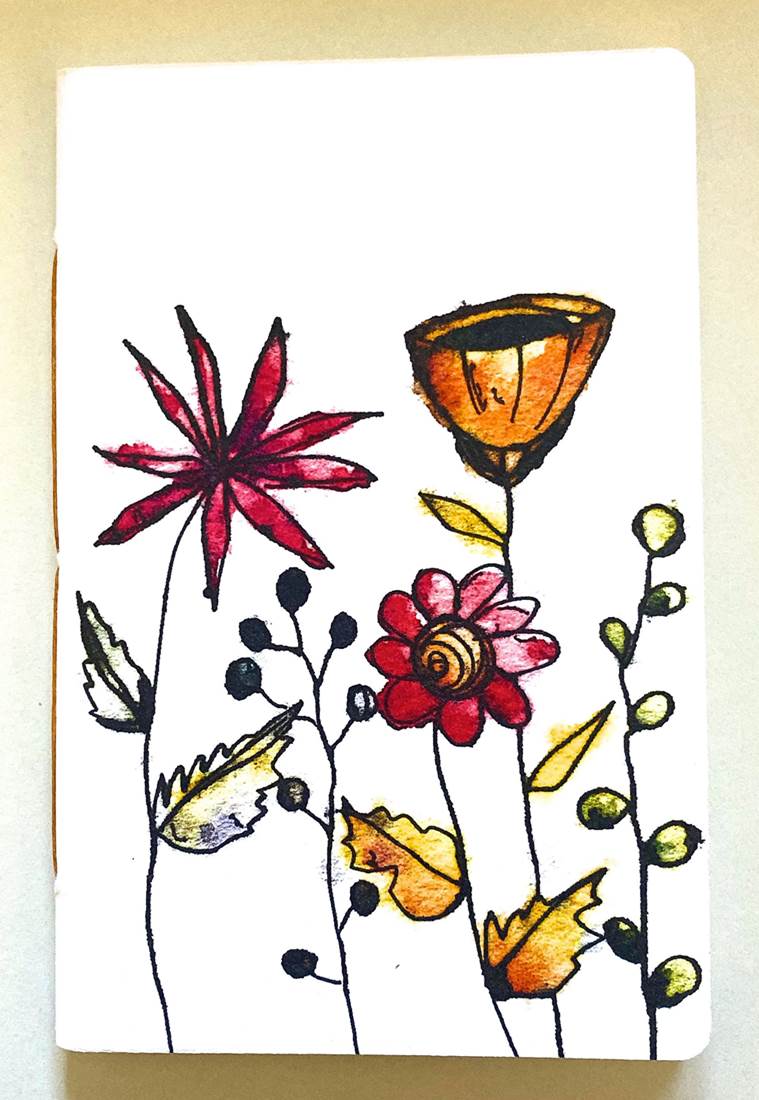
With complete creative control, it’s time to make a beautiful “Quarantine Diary/journal” to record all the experiences, emotions and desires.
What you need
- Blank notecard (or recycled cardboard from your kitchen – think cereal box, etc!)
- Blank or lined paper for notepad pages
- Needle and embroidery floss/thick cotton thread
- Paper piercing tool
- Cutting board, ruler and knife
- Scrap paper for binding
- Glue stick
- Ink and stamps, or other embellishments (optional)
As per your preference, choose whatever size you want for your mini notebooks, they really are flexible!
My blank note-cards were 8 x 6 inches (approximately 21 x 15 cm), and the computer paper was double the size. Trim down your note paper so it is the same size as your notecard/recycled card-stock cover. You can use as many sheets you want for your kid’s notebook. Fold the note paper in half, and then using a ruler and knife just trim down the outer edge so that you get a crisp edge to your notepaper. Put your notepaper inside your notecard cover. Now measure out where you’d like your binding holes to be. I just wanted to do a really simple binding with only two holes, and measured them out one inch above and below the center-point.
If you want, go wild with holes and do a more elaborate binding. There are no rules!
To pierce the paper you don’t need fancy book-binding or scrap-booking tools (but do go ahead and use them if you have them). I highly recommend parents help the children here. Pierce papers with a sharp needle and a heavy object/small hammer. Just make sure you do it on a protected surface so you don’t end up with holes in your worktop! After the initial piercings, push your needle through the hole and wiggle it around a little bit to widen the holes. To bind your notebook, thread some embroidery floss or thick cotton thread onto a needle. Working from the outside-in, thread your floss through one hole and back out the other, and secure the ends together at the spine with a double knot. Trim down the ends. Cut a piece of scrap paper to measure the same height as your cover and a couple of inches wide. Use paper glue to cover the back of your decorative paper with glue.
Miracle grow garden/Grow plants hydroponically (Growing plants without soil)
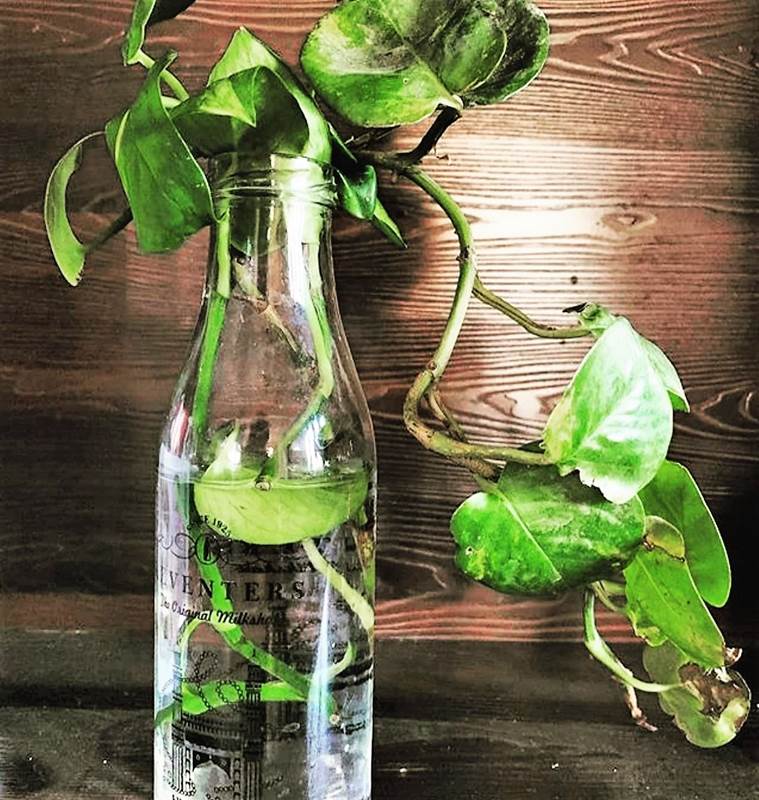
This is something very creative and scientific for children. You and your child can build your own DIY indoor growing system. It’s simply growing plants in water. Here is a selection of the best homemade hydroponics plants anybody can build. Plants don’t need soil as long as they have five things: food, water, light, air and support. If you are a beginner, then here’s the setup:
For beginners it is known to be – “The Passive Bucket Kratky Method” – one of the easiest hydroponic plants you and your child can start by yourself within several hours.
What all you need
- A small, single-stemmed houseplant. Most common colourful houseplants will work well. Or try a vegetable plant.
- A clear glass jar or bottle
- A cork stopper with a large hole in the middle.
- Cotton wadding.
- Plant food (ingredients given below)
Go outside or spread newspapers over your work area. Carefully remove the small houseplant from its pot. Place one hand over the soil surface, with the stem between two fingers, and turn the pot upside-down. Tap the bottom of the pot while gently easing the plant out.
Step 1: Gently brush all the soil from the roots.
Step 2: Carefully thread the plant stem through the cork-stopper and place the roots into the glass container filled with lukewarm tap water.
Step 3: Use the cotton wadding to fill any gaps between the plant stem and cork stopper. Be careful not to squeeze the stem.
Step 4: Move your plant to a sunny location and watch it grow!
After about a week, pour out the water and refill.
Your plants are hungry now! You can also make food for plants at home
Ingredients:
- 1 teaspoon baking soda
- 1 tablespoon epsom salts
- ½ teaspoon of ammonia
- 1 gallon of water
An old plastic milk jug serves as a good container for this recipe. Add all of these ingredients to your container and let it sit for about half an hour. This gives your solid ingredients time to dissolve. Feed your plants and change the water and the plant food solution about once a month.
Fingerprint Art
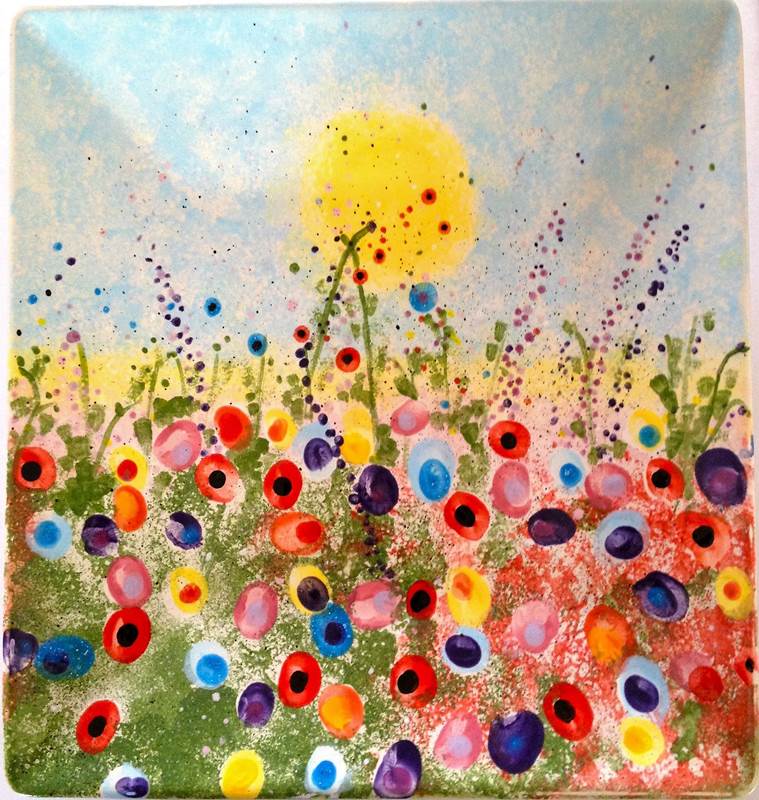
It’s a fantastic boredom buster and will keep your child busy and quiet without the aid of smartphones or any other electronics. Have your kids use their little fingerprints to craft these pretty poppy flowers, cute love bugs, dandelion or bunny and chicks.
Step 1- Fill a cup with water. Dip the brush inside and mix it in your chosen colour in the paint-box until you have lots of paint on the brush. Then coat your index finger with paint.
Step 2 – Press your index finger coated in paint firmly on the sheet of paper to create a colourful fingerprint.
Repeat this process as often as you like, preferably with different colours. Turn the paper however you like. Your child can create beautiful flowers and animals with their little fingers.
(The writer is a parenting coach and founder of The K Junction)
? The Indian Express is now on Telegram. Click here to join our channel (@indianexpress) and stay updated with the latest headlines
For all the latest Parenting News, download Indian Express App.
Source: Read Full Article